|
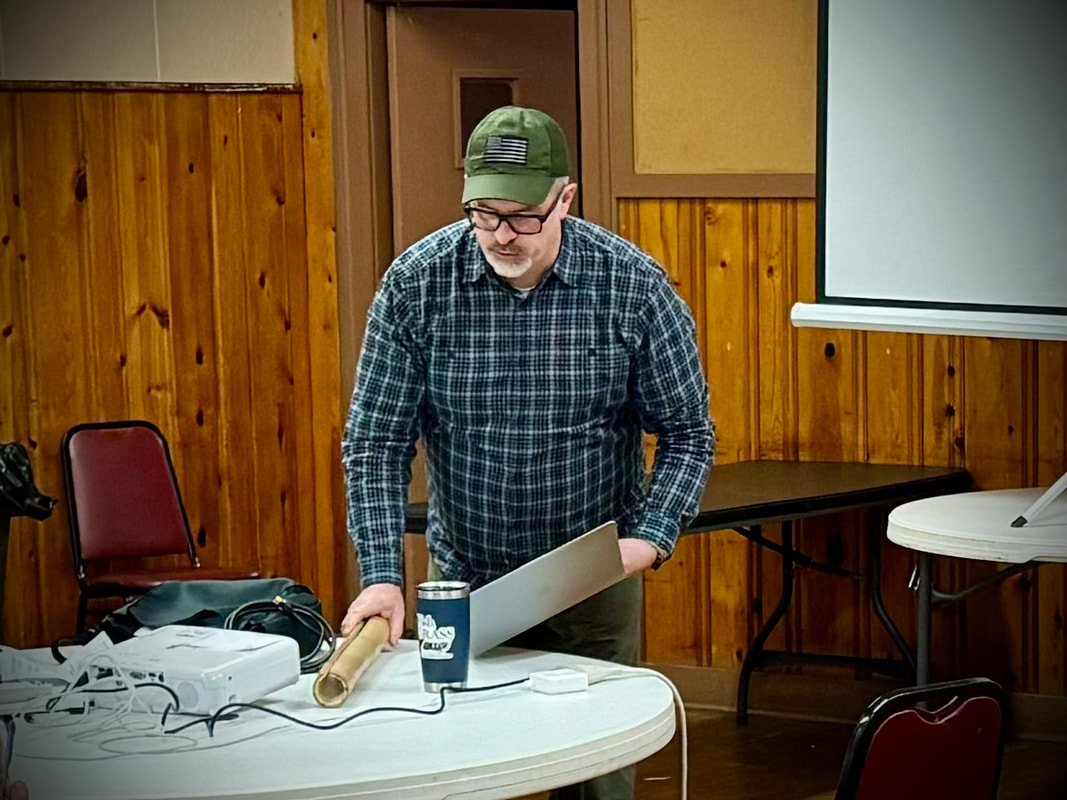
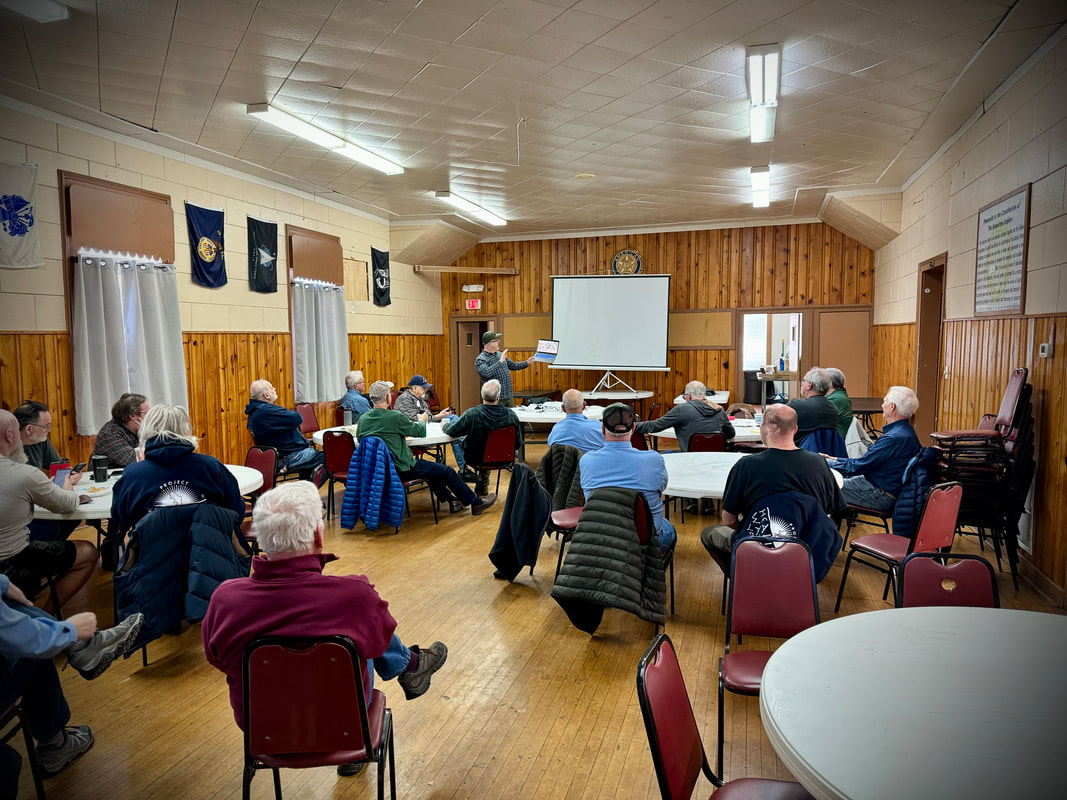
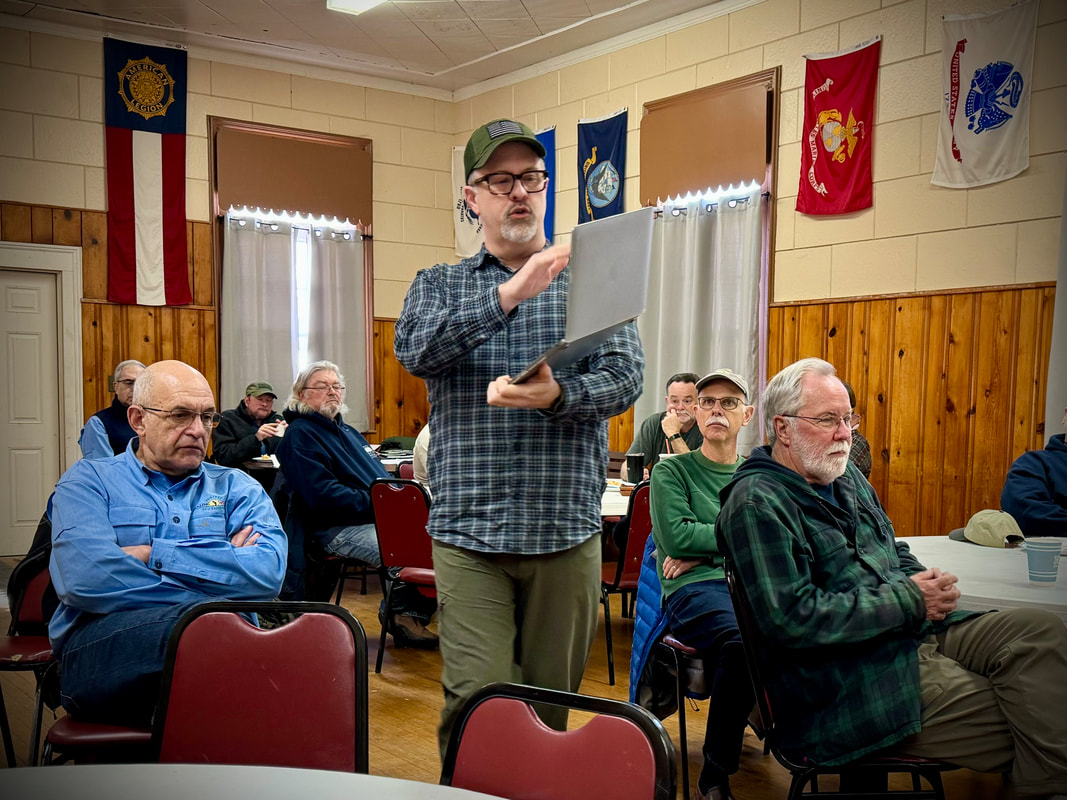
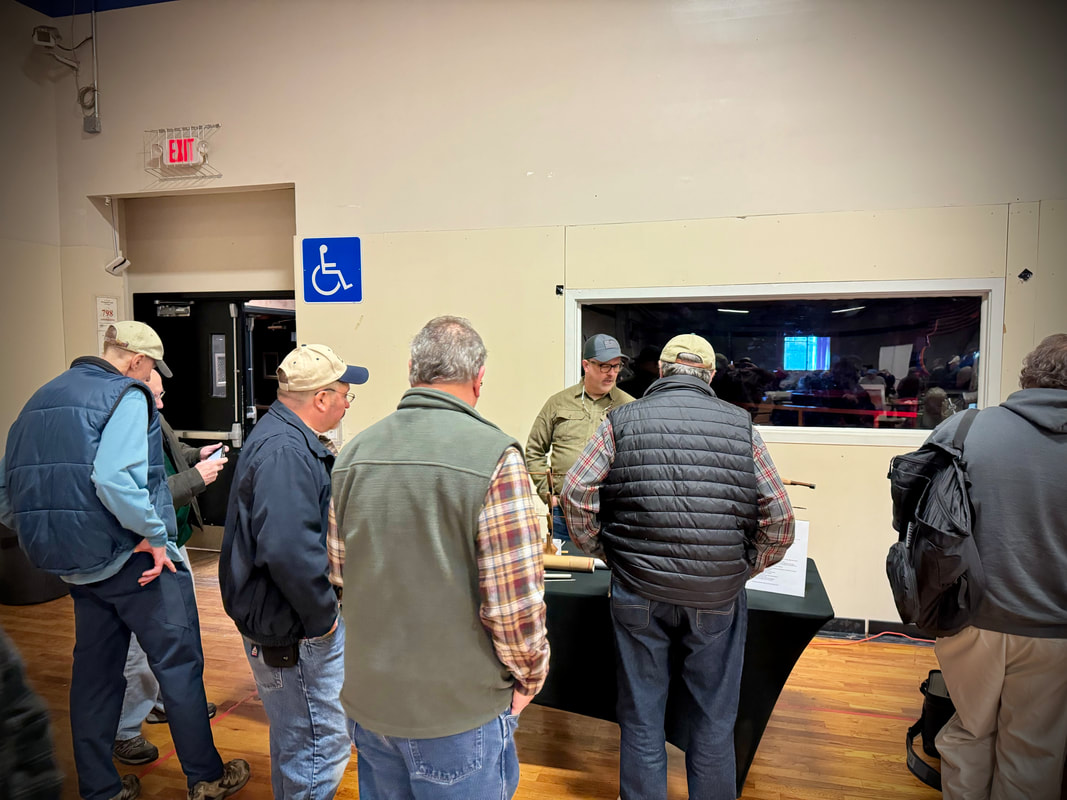
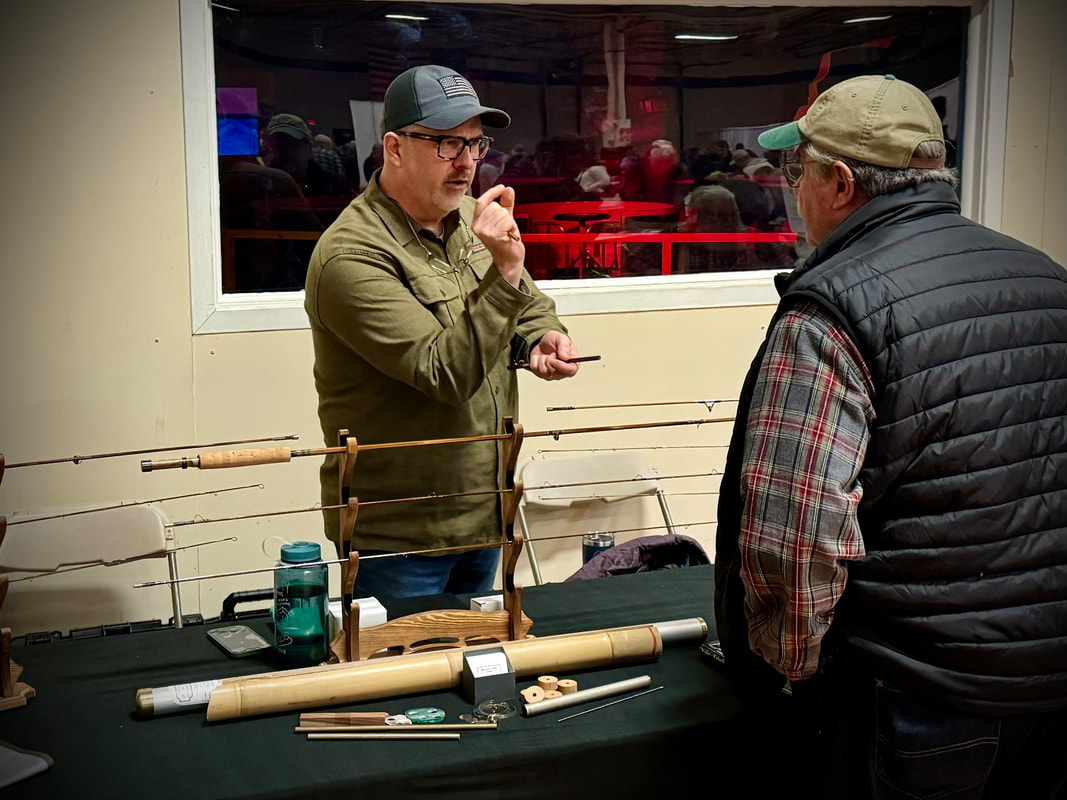
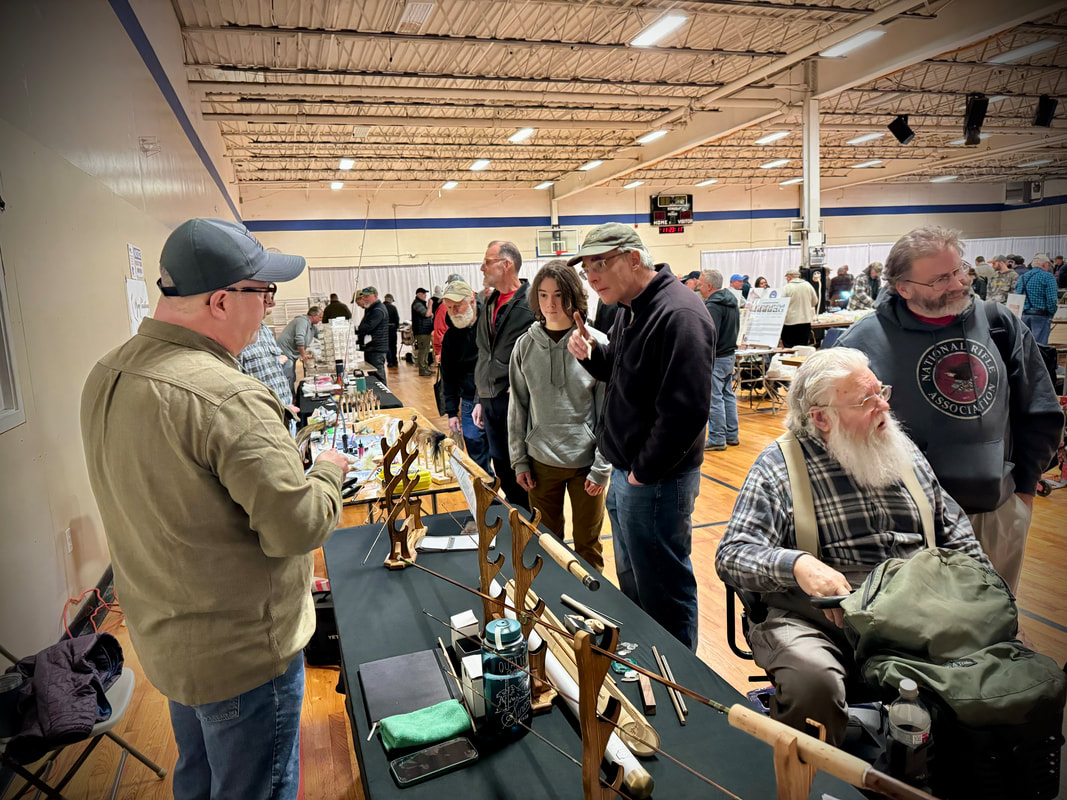
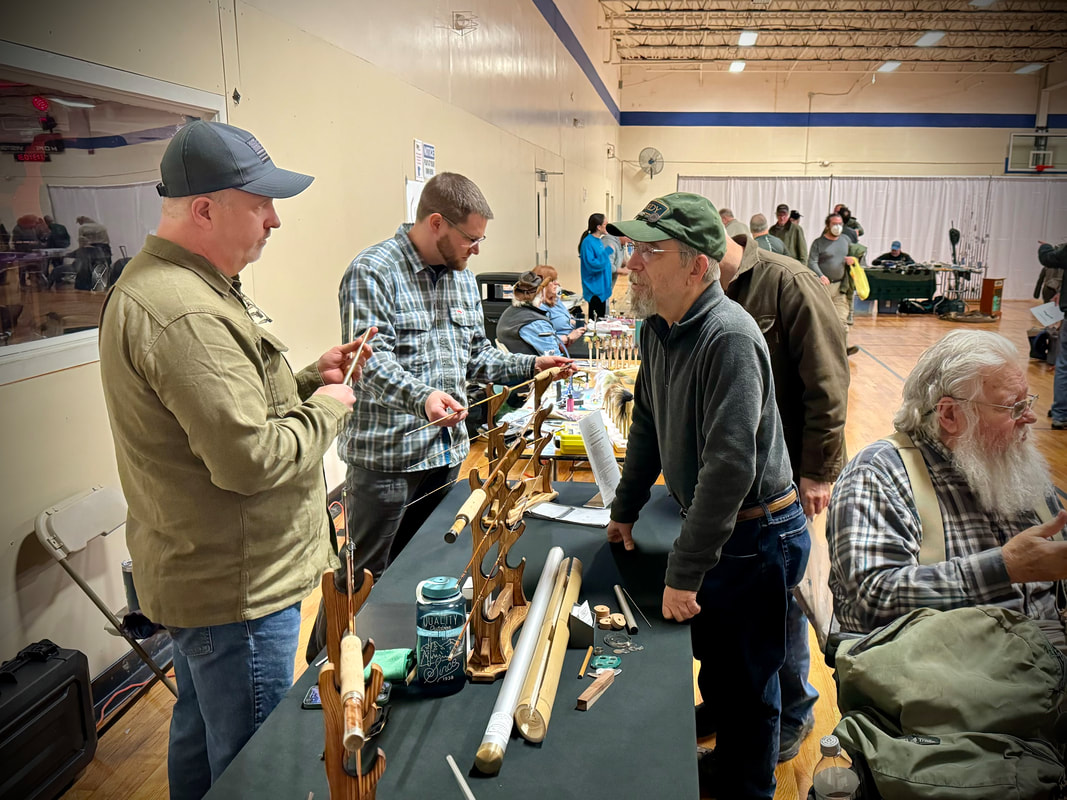
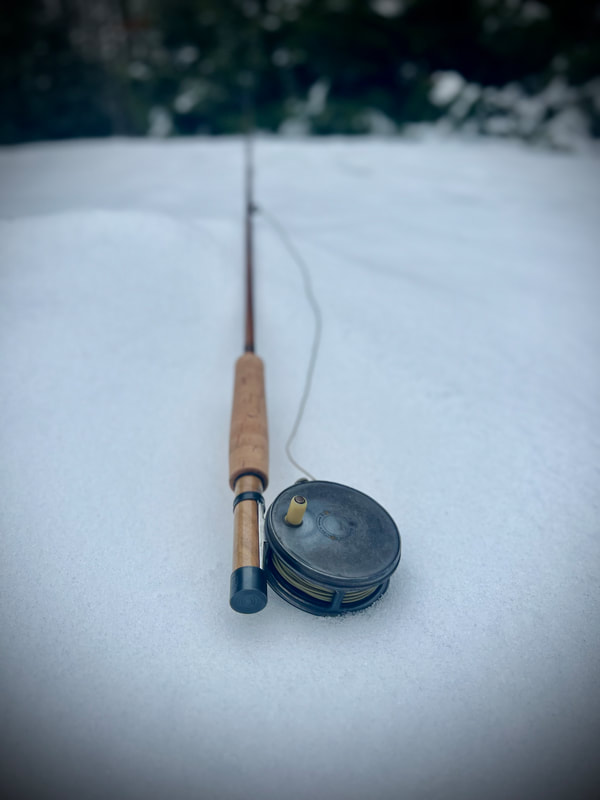
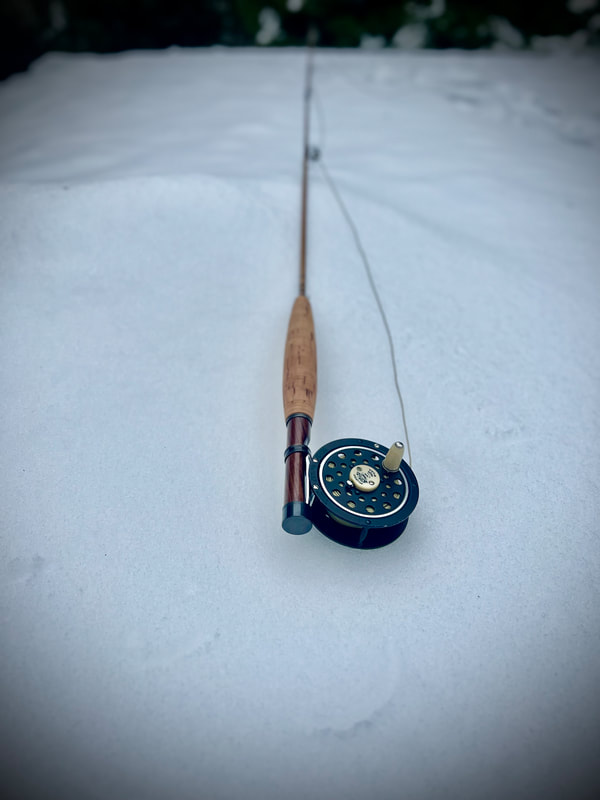
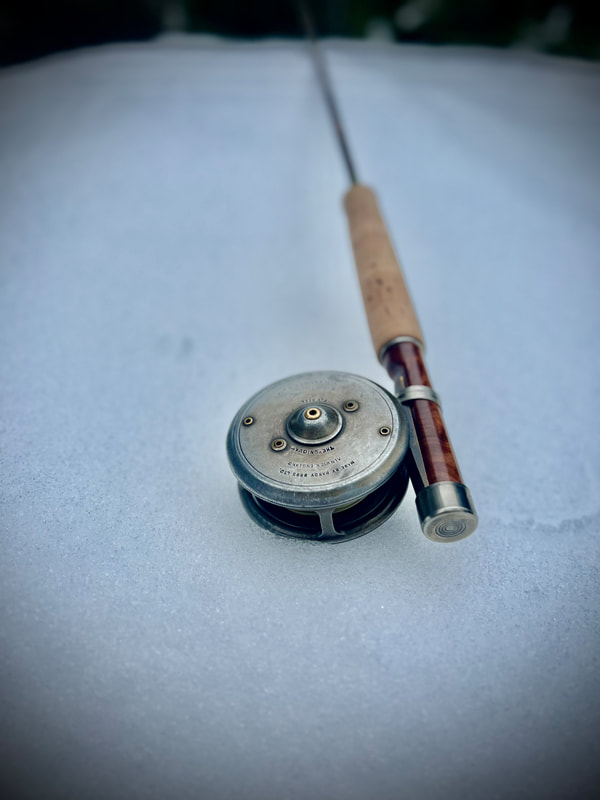
I was presented with a multigenerational fly rod that had seen better days. When life happens, some items are pushed aside, stored or forgotten about. This fly rod spent many years in a wet basement. This relic was handed down over the years, and those memories were reinforced when my client found it after cleaning out a home. When I got the rod in my shop and disassembled, I had doubts about whether it could be salvaged. But through a lot of hard work, I was able to get it back in working order. With little effort, this smooth, progressive rod threw a line a country mile. When presented with this restored precision tool, the look on my client’s face was worth all of the effort.  Lathe tailstocks suffer from backlash, as do family members after political discussions on Thanksgiving. In the machining context, this occurs when engaging the tailstock hand wheel in one direction, stopping, and reengaging the hand wheel in the opposite direction. This results in a lack of accuracy when reading the total net measurement from the analog numbers affixed to the tailstock spindle. Essentially, there is a void in the tailstock mechanisms that is not reflected when reading the measurement. "Play" prevents accurate measurement. This is a very common problem in many areas of machining. This problem can be minimized by making manual adjustments, but it cannot be fully eliminated through these adjustments. One solution is to install a digital readout (DRO) to track the net travel in both directions. Another solution is to machine a tailstock travel accuracy jig, to be used in conjunction with a dial indicator. Below is the way I made such a jig. Lathe tailstock accuracy is critical for many bamboo rod making tasks, especially when machining metal ferrules from raw bar stock. The use of such jigs, while drilling and reaming, will allow accurate repeatability and save time. Here is my process: (1) I measured the diameter of the tailstock spindle. (2) After securing a scrap piece of aluminum, I milled it flat on all sides. The aluminum was supported with machining parallels. Then, I chamfered all edges and made a consistent finish with 80 and 500 grit sandpapers. (3) The next step involved preparing the stock and measuring for the tailstock spindle hole. I planned to have the tailstock spindle hole on one side of the jig but centered. Further, I made sure to leave about 0.5" of solid stock from the end of the hole to the end of the jig. My goal was to eventually drill and tap through this 0.5" section of stock so that it would accept a hex cap screw. This will be discussed in more detail below. The photo on the left represents the starting point and the photo on the right represents the finished product in this next step. (4) I supported the jig with machining parallels and made sure that the jig had unobstructed clearance (top, bottom, sides) to cut the entire 1.25"-ish hole. With plenty of lubricant (AlumTap or oil for cutting), I used a center to make the preliminary shallow hole to accept the first drill bit. Then, starting with a small drill bit, I made a hole through the jig. Thereafter, I used progressively larger drill bits, and eventually larger end mills. (5) Without an end mill measuring 1.25", I moved to a boring bar and a manual offset boring head. I incrementally and slowly adjusted the offset boring head outward to make a progressively larger hole. Measuring often, I stopped cutting when my hole reached 1.25"-ish. (6) I tested the fit on the tailstock and achieve my goal of a snug fit. (7) Back at the mill, I secure the jig sideways in the milling vise. On the side of the jig with the hole, I left about 0.5" of solid stock from the end of the hole to the end of the jig. Making sure I had drilling clearance below the jig, I used a center to make a shallow centered hole. Using progressively larger drill bits, and ending with a #7, I drilled through the jig. (8) I tapped through this #7 hole using a 1/4-20 tap. (The picture on the right is the direction I tapped. The picture on the left is just to illustrate the process.) I tapped about 75% through the hole. The tapping process was started on the mill for proper support, rotating the head by hand. Thereafter, I finished tapping by hand. (9) On the side where the tap commenced, I used a 1/4" drill bit to drill just over 50% through the hole. My goal was to remove the tapped thread through the first half of the jig, just over the midway point. A simple piece of painter's tape can be used as a depth guide. (10) With a metal bandsaw, I cut through the midpoint at the bottom of the jig into the tailstock hole. I placed a hex screw with a 1/4-20 thread into the side of the hole where the thread was removed. The screw freely slid into the hole, stopping around the mid-point. Thereafter, I was able to tighten the screw, allowing it to catch the remaining thread after the mid-point. (11) It fit snugly and securely. Any slack was taken up by tightening the hex screw. (12) I attached a dial indicator with a 2" travel to a Mighty Mag Magnetic Base. I then attached the base to the top of my tailstock, retracting the dial indicator and making contact with the jig. Now, I can accurately track the net travel of my tailstock. For reasons not fully understood by me, I can go on and on applauding the virtues of bamboo fly rods. Ask me about bamboo rod building history, techniques and tapers, and that conversation can go on indefinitely. I had the wonderful opportunity to speak to Project Healing Waters about CT bamboo rod making history and constructing rods from raw stock. Unfortunately, connectivity issues prevented me from projecting my presentation on a screen. So, I had to improvise, something bamboo rod builders do often. 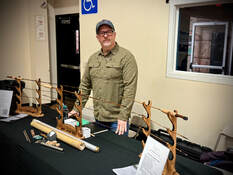 I had a wonderful time at the annual Connecticut Fly Fisherman’s Association’s Exposition. It was nice to catchup with friends and present my bamboo rods to the local fly fishing community. On hand I had a 6’ 3wt hex, a 6’6” 4wt penta, and a 8’ 5wt hex. I truly appreciated all of the abundant interest and questions. After 6+ hours of talking and engaging, I was exhausted! It was great to have my friend and master toolmaker Art Leclair at my table as company. 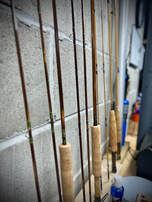 We often lament the time of reconning when we step on the scale at the doctor’s office. Bamboo fly rods are no different. Assigning a line weight may be a bit too personal. At the 2023 Catskill Rodmaker’s Gathering, noted fly fishing historian, John Shaner, suggested that makers may want to consider leaving the line weight notation off of their bamboo rods. Rather, Shaner went on to recommend that a given line weight is best determined by the end user. Shaner concluded that line weight notations are just a suggestion.  I am blessed to have many things in life, one on of which is my casting area. Exiting the back door of my shop, it is surrounded by woods and a stone all. It is long and reminiscent of a meandering stream, providing the perfect attributes to test cast bamboo fly rods. It is a great place to spend time and to allow a given rod to provide valuable feedback as to its performance characteristics. When test casting, I experiment with a variety of line weights and reels. More than once I’ve been pleasantly surprised by the results. Noted fly fishing author, Dave Hughes, has recommended a good way to slow a rod down is to simply go up a line weight. This is wonderful advice. With the variability of fly lines on the market, it is virtually impossible for a 4 weight rod to perform the same with any 4 weight line. But to Hughes’ point, one may also choose to take an active role in a rod’s performance. I’ve certainly done this in my own fishing. One of my main fishing rods has been a 7’ for a 4 weight. It is a medium action rod that gracefully places a 4 weight double taper line on the surface of my tailwater when targeting selective browns. However, when on my canopy laden small streams, I find the action a bit slow and a need for tighter loops. Thus, I fish it with a 3 weight double taper line on such small streams, and its progressive taper is a small stream dream. I recently completed three new rods: 6’ 3wt; 6’6” 4wt; and 8’ 5wt. I test casted all with multiple line weights. I executed short casts, long casts and roll casts. I was utterly confused because I found myself thinking deeply about all kinds of different fishing applications with each rod. While I noted line weights on each rod, I came to realize those notations were truly…just a suggestion.
The good folks at Fox 61 CT profiled my bamboo fly rod building. Thanks Jim and Sean! Click HERE for the article. The video is below. I think it is fair to say that fly fishing with bamboo and building bamboo fly rods are paths less traveled. For those of us who gravitate toward such paths, we often find meaning in places others ignore, especially in a world where immediacy and excess are rewarded. My December was defined by the “path less traveled.” Fly fishing both a first-rate tailwater and abundant small streams, I’m fortunate to have options. High flows plagued my tailwater, and as such, I found myself finishing off the year fly fishing some great small streams. One of my favorite aspects of small stream fishing is never knowing where you will end up. December was marked with exploration, as I ventured up named small streams to unnamed first- and second-order tributaries. A fun time being embedded deep in nature. On the building side of things, I commenced work on a less common rod type: a five-sided or “penta” rod. I really like pentas. They are unique and often misunderstood. They require less glue, flex in the cane as opposed to in a glue line, and can bring about some additional power. I also very much like the look of spiral node staggering on an aggressively flamed rod. It can be hypnotic. Of course, it really comes down to the taper, not the number of strips. This particular rod is being designed as a “tailwater” rod, capable of delicate presentations to selective wild trout, but with sufficient backbone to handle a multitude of conditions. A possible resolution for the new year: Consider taking the long way home. It may be filled with wonderful surprises.
On November 20, I had the honor and opportunity to speak to the Connecticut Fly Fisherman’s Association. I’m a proud member. It’s a fabulous organization, and this is the direct result of both its wonderful leadership and membership. My talk was titled: Bamboo Fly Rods: Connecticut History & Current Construction. The talk was divided into two parts. First, I covered local history. Among other things, I discussed the Hiram Leonard descendants who eventually set up shop in Connecticut and tracked the lineage through to modern day builders. Second, I discussed the way in which I build bamboo fly rods completely from raw stock. I believe it was well received. Here are some photos…  Skills are subject to continual development. When I commenced building bamboo rods, I relied on power-tools to bring stock into a “manageable” condition. I aggressively removed stock to the desired workable size. I dictated to the power tools exactly what I wanted to achieve - the harder you push stock into a sander, the more stock is removed. Aside from machining metal components, the more rods I built, the more I gravitated toward hand-tools. Hand-tools provide a quiet environment where one can gently sculpt, shave, cut, bend, and otherwise manipulate stock. More importantly, hand tools force one to become part of the process, rather than dictating the process. Dismayed by the lack of quality, I eventually entered the wonderful world of Japanese hand tools.  Japanese Dovetail Pull Saw - I’ve come to rely heavily on my Japanese hand saw. Rod builders are continually adjusting strip length base on where they are in the building process. Rather than having a power tool rip through a strip of bamboo and cause it to fracture at an undesired location, my Japanese handsaw provides perfect, slow, crisp cuts at my target locations. Japanese Iwasaki File - Like many builders, bamboo nodes are a source of frustration and problems. We do everything to eliminate their troubling presence. We grind them down, press then, sand them, and even yell at them. A Japanese file will properly put the builder in his place. By allowing the file to cut, the builder is merely guiding the file in the desired direction. Soon, a small repetitive action of guiding the file will reduce the node to powder.  Japanese Froe - I started splitting culms with a froe. I had no idea what I was doing and the resulting bamboo strips proved this point. I then tried a bandsaw jig, a table saw jig, and star cutters. I then came full circle, only to start back at my froe. I tried again and settled on the use of a froe, vice and my two hands. My results have been the best, resulting in plentiful, workable strips.
There is a larger lesson to learn. Japanese hand-tools cannot be forced. Forcing such tools will induce error. However, when we accept our position in the process as maker and allow the tool to do the work for which it was designed, we create a wonderful team. The maker becomes part of the process, rather than a dictating force. Instead of prying back the pedals of a spring flower, we allow it to open when it is ready. Accepting our position in the larger process sometimes means slowing down, backing off, and witnessing the beauty unfold…when it is ready. What do bamboo rod building and Brazilian jiu-jitsu they have in common? bending…twisting…and perhaps a little more… John Danaher, former Colombia University philosophy Ph.D. student, and now one of the all-time greatest Brazilian jiu-jitsu and mixed martial arts coaches, holds that improvement in a particular area is predominately linked to skillset development and training. He further says that sometimes an ephemeral comment or meeting can drastically change one’s perspective and entire trajectory. Early in his career, Danaher had a fleeting, one-time meeting with Dean Lister, two-time ADCC world Champion. Lister had perfected leg locks as a mechanism for submission. Not fully appreciating the value of leg locks, Danaher discussed this with Lister. Lister simply asked Danaher, why would someone ignore half of the body. Perplexed, the former philosophy Ph.D. student and black belt, Danaher said, “I don’t know.” This brief, one-time meeting changed Danaher’s thinking and trajectory. He would go on to become one of the greatest Brazilian jiu-jitsu and mixed martial arts coaches of all-time, developing some of the greatest practitioners of all-time. These practitioners became known as “The Danaher Death Squad.” A significant focus was placed on leg locks. Among other things, he credited this brief, one-time meeting to changing his trajectory and methodology. I had the wonderful opportunity to attend the Catskill Rodmaker’s Gathering this month. With familial responsibilities, this was no easy task, and previous efforts had fallen short. I met up with a friend, who I knew for a few years from Connecticut. I had been thinking and constantly adjusting my technique for addressing nodes in bamboo rod strips for a long time. We discussed this. Like Lister, he said something brief, simplistic and piercing. I was bewildered and reminded of the almost speechless Danaher comment, “I don’t know.” For me, a lightbulb went off, and I was shocked that I had not considered his methodology. Luckily for me, lightbulbs continued to go off throughout the weekend as I met other rod makers and compared notes. A wonderful event with wonderful people. |